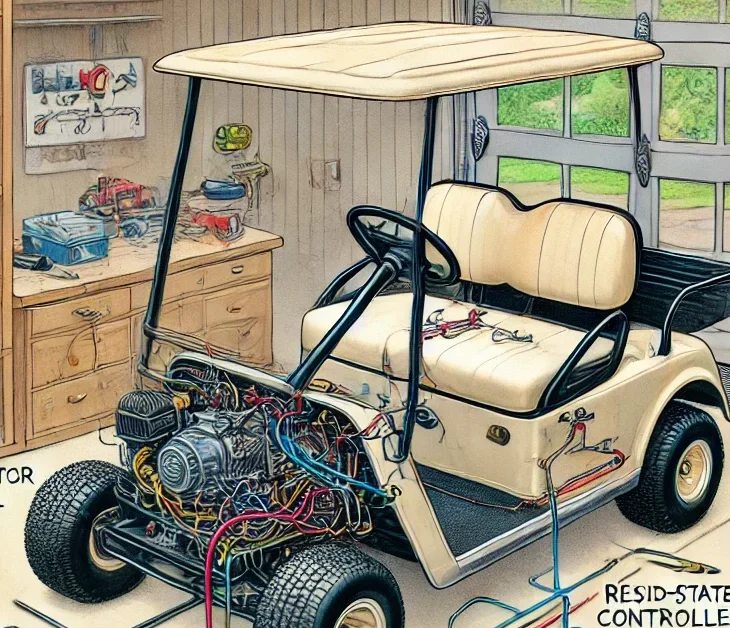
Upgrading your 1986 E-Z-GO golf cart from a resistor-based speed control system to a modern solid-state controller is a game-changer. It not only enhances performance and efficiency but also improves the reliability of your cart. This guide outlines the step-by-step process to successfully convert your resistor controller to a solid-state system.
Why Upgrade to a Solid-State Controller?
Resistor controllers are outdated and inefficient, as they dissipate excess energy as heat during speed regulation. Solid-state controllers, on the other hand, offer numerous advantages:
- Improved Efficiency: They provide smoother acceleration and precise speed control.
- Reduced Heat Generation: Energy is used more effectively, minimizing waste.
- Longer Battery Life: Efficient power delivery extends the lifespan of your batteries.
- Customization: Many solid-state controllers allow you to fine-tune speed and torque.
If you’re ready to upgrade, follow the instructions below to make the switch.
Tools and Materials You’ll Need
Before you start, gather the following:
- Solid-state speed controller kit (compatible with your E-Z-GO model, e.g., Alltrax or Curtis controllers).
- Throttle conversion kit (if your existing throttle isn’t compatible with the new controller).
- Heavy-duty solenoid (rated for the new controller).
- High-quality cables and connectors.
- Wiring diagram for your 1986 E-Z-GO golf cart.
- Basic tools: Screwdrivers, wrenches, and pliers.
- Digital multimeter (for voltage testing).
- Safety equipment: Gloves and safety glasses.
Step-by-Step Conversion Guide
1. Disconnect the Battery
To ensure safety, turn off your golf cart and disconnect the main positive (+) and negative (-) battery cables. This prevents accidental short circuits while you work.
2. Remove the Resistor Assembly
Locate the resistor coil assembly and the mechanical speed control system. Carefully:
- Disconnect all wires and cables attached to the resistor assembly.
- Remove the resistor coils, speed control linkage, and any related hardware.
Ensure you label the wires to make reconnection easier during installation.
3. Install the Solid-State Controller
Mount your new solid-state controller in a secure location, preferably near the motor or battery compartment. Follow these steps:
- Connect motor wires: Attach the A1, A2, F1, and F2 motor wires to the corresponding terminals on the controller.
- Battery connections: Use heavy-duty cables to connect the battery pack to the controller (typically B+ and B- terminals).
Refer to the controller’s manual for proper wiring instructions.
4. Replace the Solenoid
The old solenoid may not be compatible with the solid-state system. Install a new, heavy-duty solenoid and connect it as follows:
- Wire the solenoid terminals to the controller, battery pack, and motor.
- Ensure the wiring matches the configuration outlined in the manual.
5. Upgrade the Throttle System
Older E-Z-GO models often use throttle mechanisms that may not work with solid-state controllers. If required:
- Install a throttle conversion kit, such as a potentiometer or an ITS (Inductive Throttle Sensor) system.
- Connect the throttle to the controller following the manufacturer’s guidelines.
6. Add Safety Features
For added protection and longevity:
- Install a main fuse between the battery pack and the controller.
- Add a run/tow switch if recommended for your specific controller model. This feature protects your system during maintenance.
7. Verify the Wiring
Double-check all connections against your wiring diagram to ensure accuracy. Use a multimeter to test voltage levels and confirm proper functionality.
8. Reconnect the Battery
Once you’re satisfied with the wiring:
- Reconnect the main positive (+) and negative (-) cables to the battery pack.
- Ensure all connections are tight and secure.
9. Test the System
Turn on your cart and perform the following checks:
- Test acceleration at low speeds to confirm smooth operation.
- Gradually increase speed and monitor motor performance.
- Ensure the throttle responds correctly, and listen for any unusual noises.
If everything works as expected, your conversion is complete!
Maintenance Tips After Conversion
- Regularly inspect cables, connections, and the controller for wear or damage.
- Keep the system clean and free from dirt or debris.
- Monitor the battery levels to ensure optimal performance.
Final Thoughts
Upgrading your 1986 E-Z-GO golf cart to a solid-state speed controller is an investment in efficiency and performance. This modern system eliminates the inefficiencies of resistors, reduces energy waste, and provides smoother, more precise control over your cart’s speed.
By following this guide, you’ll not only restore your cart’s functionality but also future-proof it for years to come. If you’re unsure about any step, consider seeking professional assistance to ensure a safe and successful installation.
