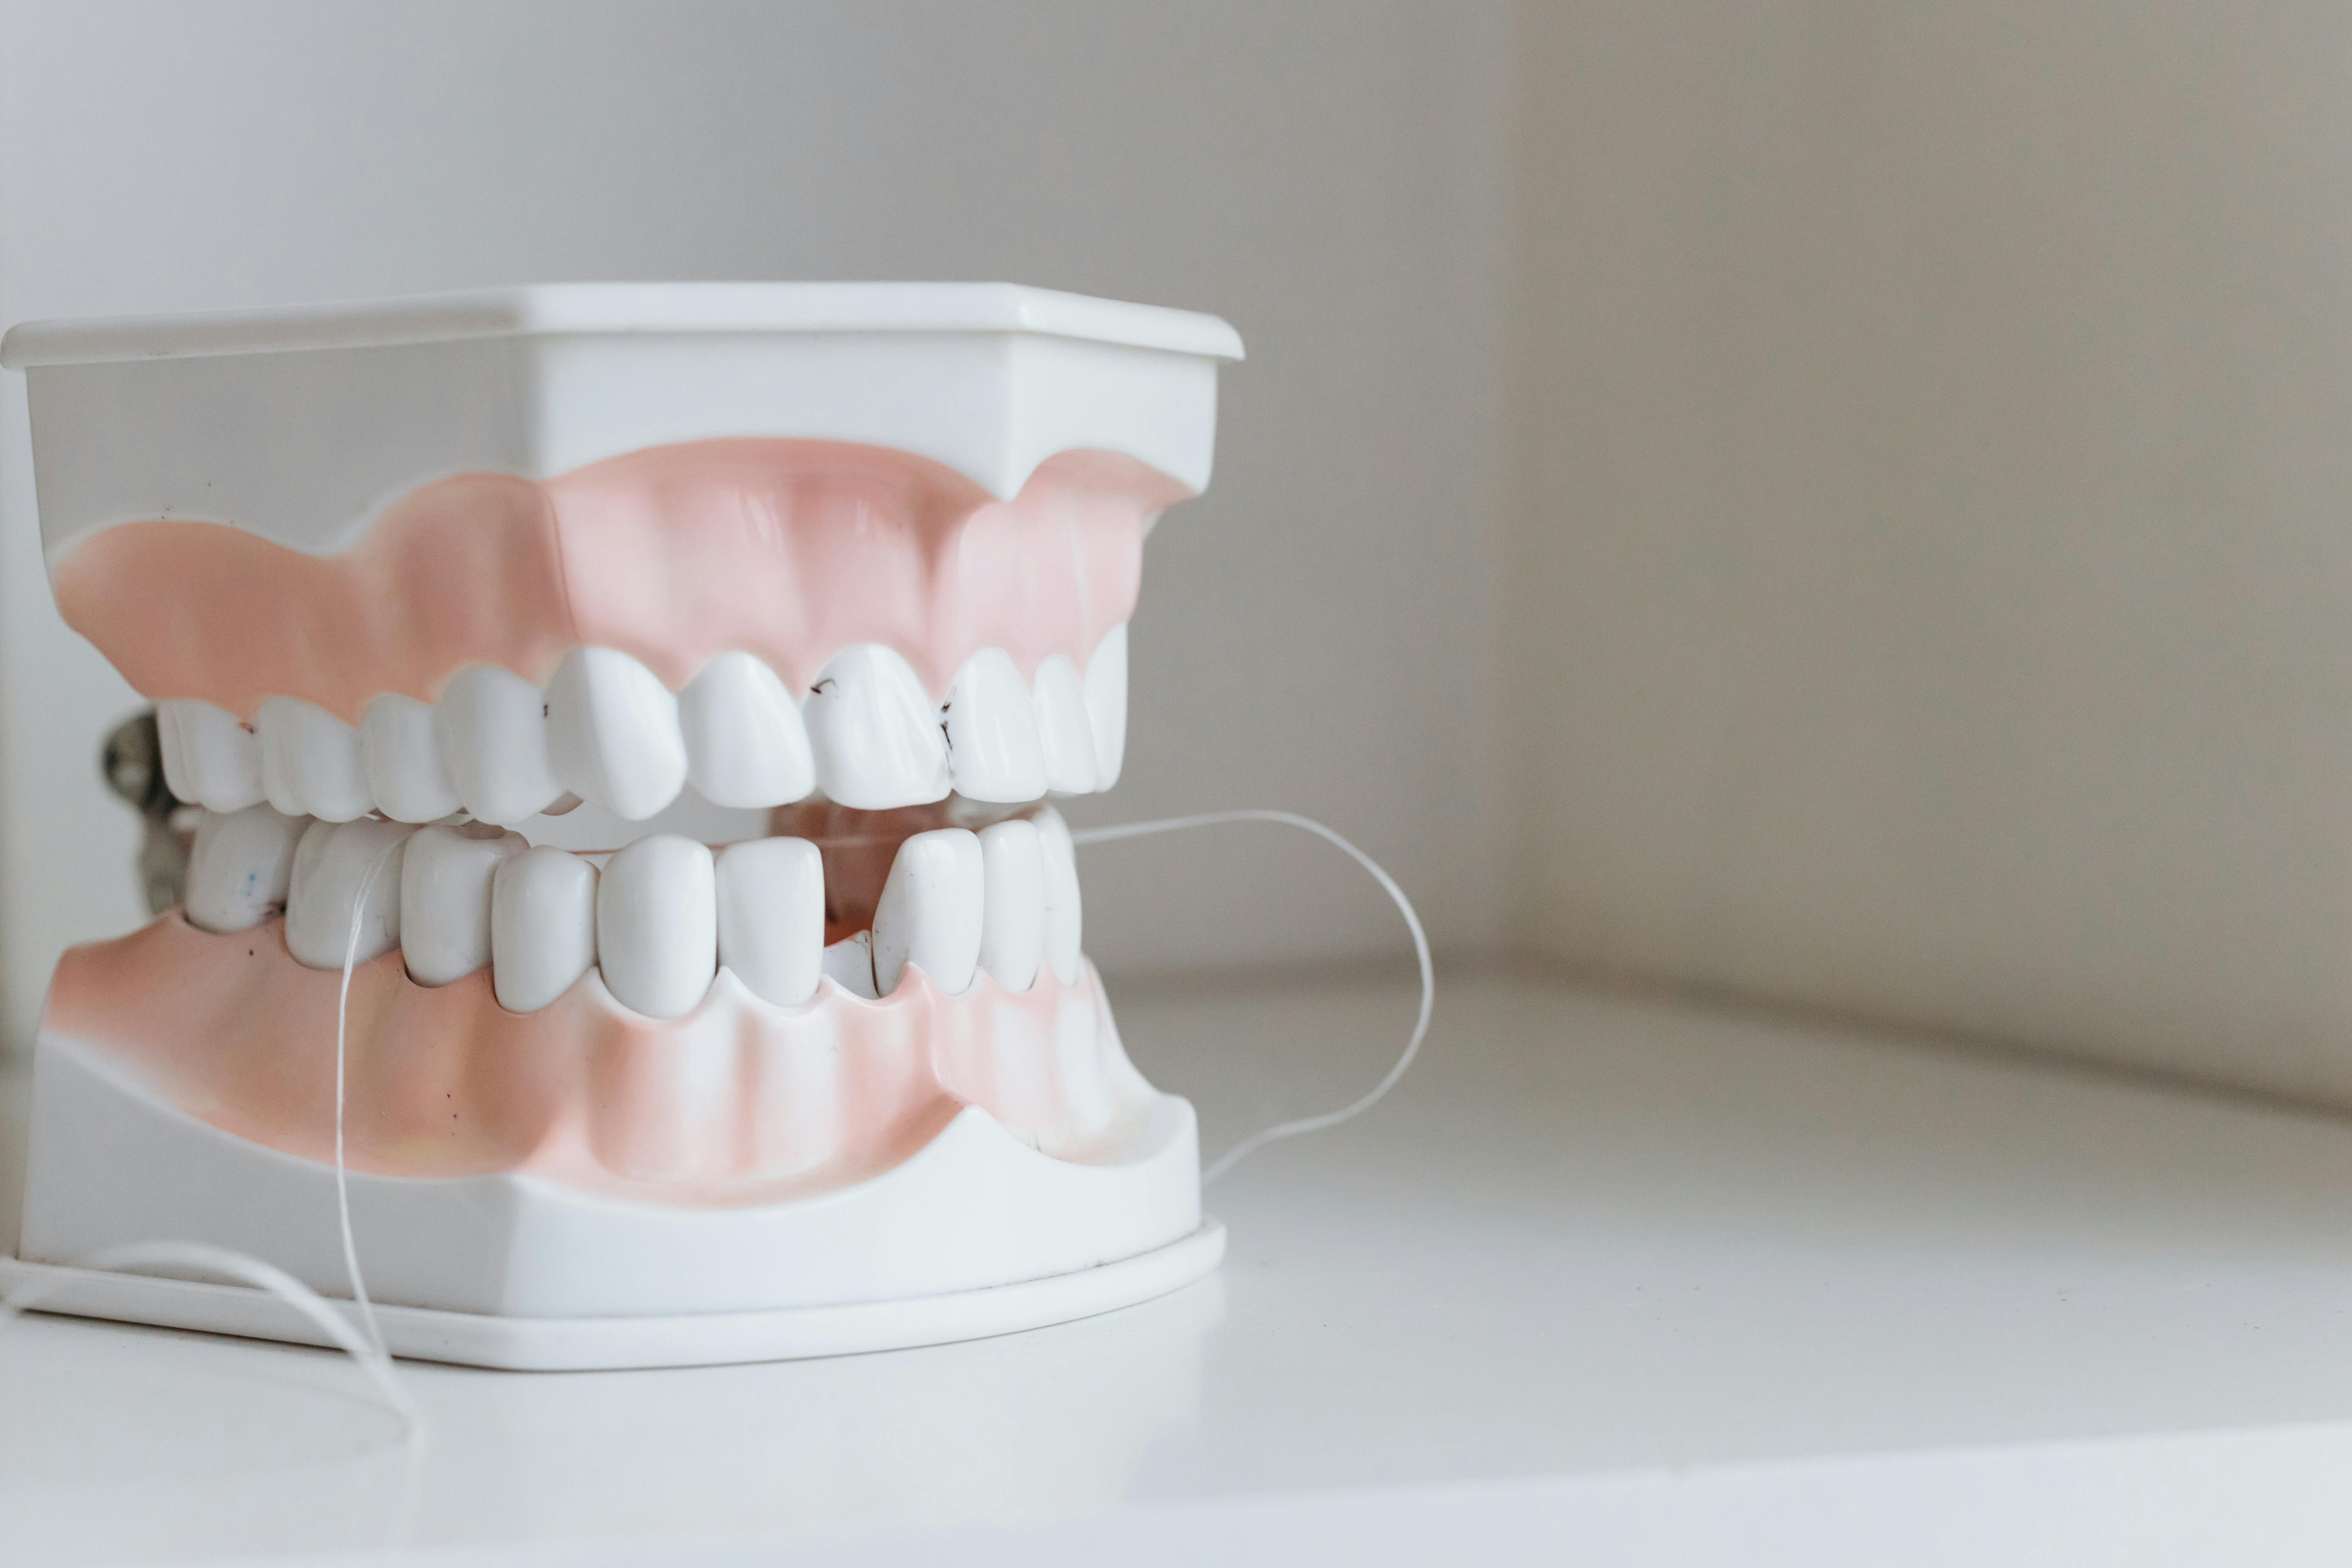
Your toothbrush is great at cleaning the surfaces you can see, but not so good in the tight spaces between your molars. These are the teeth that are the hardest to reach and this is precisely where food and plaque tend to collect. If you have ever had trouble with floss at the back of your mouth, falling out of your fingers, or your jaw hurting from stretching, you are not alone.
The good news is that a few small adjustments can make flossing your back teeth far easier and gentler on your gums.
Why It’s Important to Floss Your Back Molars
Your molars do the bulk of the chewing and, since they have uneven surfaces and are packed tightly together, they are natural food traps. Plaque can also build up along the gumline, where a brush can’t always reach.
If left untreated, plaque can lead to cavities and gum disease. Brushes clean the outside and chewing surfaces. Floss cleans the narrow gaps in between. The two habits work together, and neither one fully replaces the other.
How to floss back teeth properly
1. Pick a tool that fits your mouth
Traditional floss works well for many people, but it can be difficult to get it to the back of the mouth. If you still struggle, try something that gives you more leverage:
- Waxed floss generally slides more readily between tightly spaced teeth.
- Floss picks have a handle to help you reach your back teeth.
- Dental tape is wider and flatter than regular floss, which some find more comfortable.
- Water flossers spray a jet of water between teeth and along the gumline to clean.
No single option is best for everyone. Pick the one that lets you clean comfortably without forcing anything between your teeth.
2. Guide the Floss Gently
If you are using standard floss, begin with about 18 inches. Wrap a bunch of it around your middle fingers and have a little to work with.
Instead of snapping the floss down on the gums, move it gently back and forth between two teeth. When it’s through, slide it against the side of one tooth, then the next before moving on. As you get to the last molars, slow down because it is easiest to get careless there.
3. Use the C-Shape Technique
A common mistake is pulling floss straight through the gap and stopping there, which leaves the sides of the teeth untouched. The C-shape technique fixes this.
After the floss passes between two teeth, curve it around one tooth so it forms a C. Move it up and down along the tooth surface, slipping slightly beneath the gumline. Then do the same on the tooth next to it. Use a fresh section of floss as you move to each new area so you aren’t carrying plaque from one gap to the next.
4. Make the Last Molars Easier to Reach
The very back teeth are the trickiest. It’s hard to position your fingers while keeping your mouth open, and the angle is awkward.
A floss pick with a longer handle can give you better access. A water flosser is also worth considering if you have braces or a bridge, or if hand dexterity is an issue. Avoid stretching your mouth uncomfortably or forcing floss into a tight gap. If one tooth is consistently hard to clean, ask your dentist to show you a technique that suits your mouth.
5. Know What to Do if Your Gums Bleed
Flossing shouldn’t hurt. Pressing too hard or snapping the floss against your gums can irritate them, so keep your movements slow and controlled, and guide the floss around each tooth rather than digging into the gum.
Some bleeding when you first start flossing can be a sign of inflammation. But if it continues, or comes with swelling or pain, don’t brush it off. A dentist can check whether gum disease or another problem is behind it.
6. Should You Floss Before or After Brushing?
Flossing first is a practical choice, since it loosens food and plaque between the teeth and lets your brush clear it away afterward. That said, the best order is the one you’ll actually stick with.
Aim to floss once a day and brush twice a day with fluoride toothpaste. Doing it before bed is especially useful because it clears away the debris that has built up over the day.
Common Flossing Mistakes to Avoid
Even a simple habit loses its value when the technique is off. Watch out for these:
- Skipping the back teeth because they’re hard to reach
- Snapping the floss against the gums
- Cleaning only the gap instead of both sides of each tooth
- Forcing floss between tightly spaced teeth
- Reusing a disposable floss pick over and over
- Ignoring bleeding or pain that doesn’t go away
If your floss keeps catching or fraying, don’t keep dragging it through the same spot. A dentist can check for rough fillings, damaged teeth, or other causes.
Frequently Asked Questions
How often should I floss my back teeth?
Once a day is the usual recommendation. Consistent daily cleaning does more good than flossing only when something gets stuck.
Can I use a floss pick instead of regular floss?
Yes. Floss picks are convenient and often make back teeth easier to reach. Just use gentle movements and clean both sides of each tooth.
Why is it so hard to floss between my back teeth?
Limited space, closely set teeth, and the shape of your mouth can all get in the way. A floss pick or water flosser may help. If the difficulty persists, mention it to your dentist.
Is bleeding normal when flossing?
It can happen when gums are inflamed, especially if you’re new to flossing. Frequent or persistent bleeding needs professional attention, and pressing harder is never the answer.
Can flossing prevent cavities in molars?
It removes plaque from between teeth and may lower the risk of cavities in those spots. Fluoride toothpaste and regular dental checkups matter too.
What should I do if floss gets stuck?
Work it back out gently instead of yanking it. If it repeatedly catches or shreds in the same place, book a dental checkup.
Final Thoughts
Flossing your back teeth doesn’t have to be a daily struggle. Choose a tool that feels comfortable, move slowly, and clean both sides of every tooth. If it still feels difficult, your dentist can recommend a better tool or demonstrate a technique that works for you.